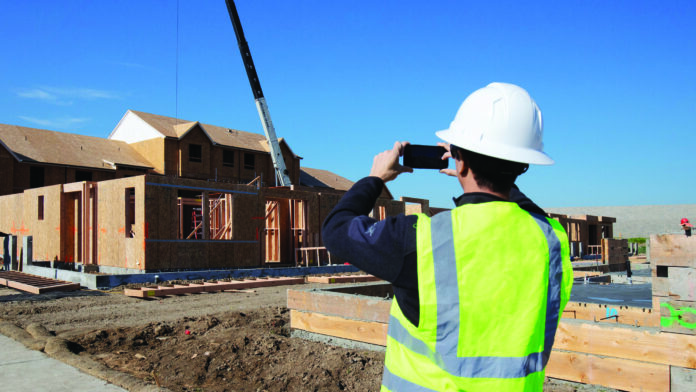
Photography is essential to showcase your work, and you already have a powerful camera in your pocket
You already speak, write, and dress professionally. Shouldn’t your photography reflect how you do everything else in business?
People are sensory machines. Seeing is our most precious sense, with 91% of the body’s sensory input transmitted visually.
In an increasingly virtual world dominated by social scrolling and text messaging, smartphone photography has become a mandatory communication skill. You can’t afford misunderstandings caused by poor-quality photos.

How can you showcase the precision of your off-site process if your photographs are crooked? This type of poor documentation will hold back your growth efforts.
Unfortunately, some of the smartest people I know categorize themselves as “unequipped” when it comes to photography. They’re wrong. The truth is that most of them have everything they need to take great photos.
You don’t need to buy professional equipment to level up your photo skills. The smartphone in your pocket has some of the most sophisticated camera technology ever created. If you have eyes and a new phone, you can become a good photographer.
Below, I cover a few foundational tips on how to become a better visual communicator by maximizing the way you use your phone in the field.
You will need a relatively new smartphone with multiple lenses on the back. Anything purchased within the last few years will work well including, iPhone 11, 12, or 13, Google Pixel 4, 5 or 6, Samsung Galaxy S10, 20 or 21, or similar.
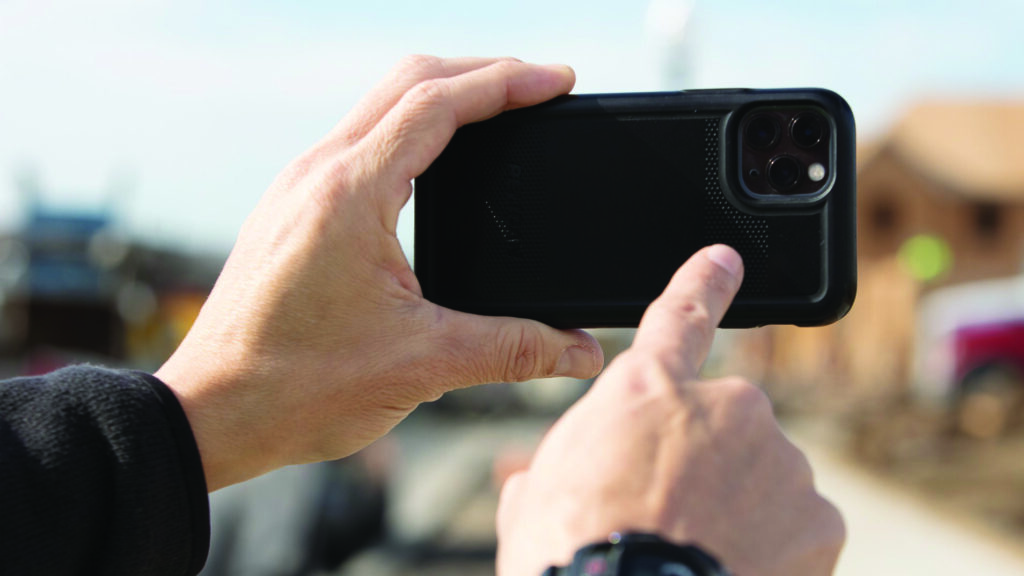
Tip 1: Use These Phone Settings
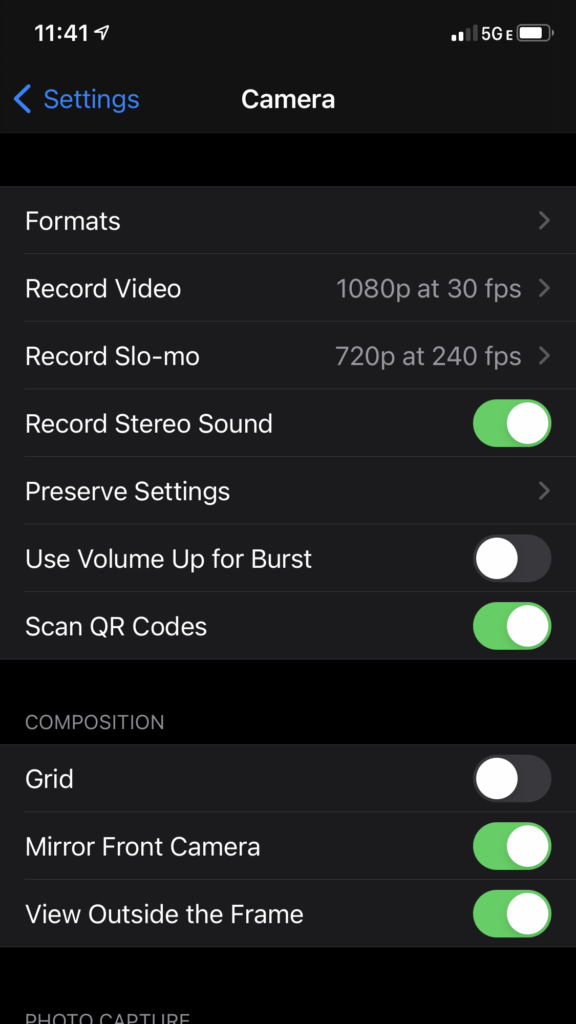
First, I want you to turn on the grid overlay feature. This will provide a visual guide to help you keep things straight and centered while you compose your photos.
On iPhone, navigate to Settings, select Camera, then turn on Grid.
On Android, go to your camera application, click the settings icon, then scroll down and turn on Grid.
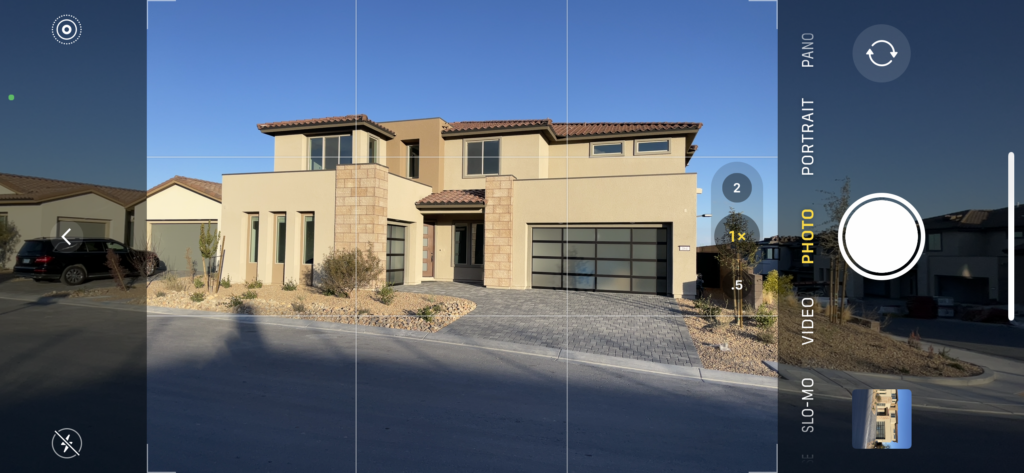
Second, you are going to tell your camera to shoot in a 4:3 aspect ratio. This creates more vertical space while shooting in a landscape (wide) format. Adjusting this setting will help you fit more of your project into the shot. [Diagram 1C]
• Navigate to your camera
• On iPhone click the arrow near the top of the screen; on Android click the gear icon. This will reveal a menu.
• Hit the 16:9 icon
• Select 4:3 to apply the new aspect ratio
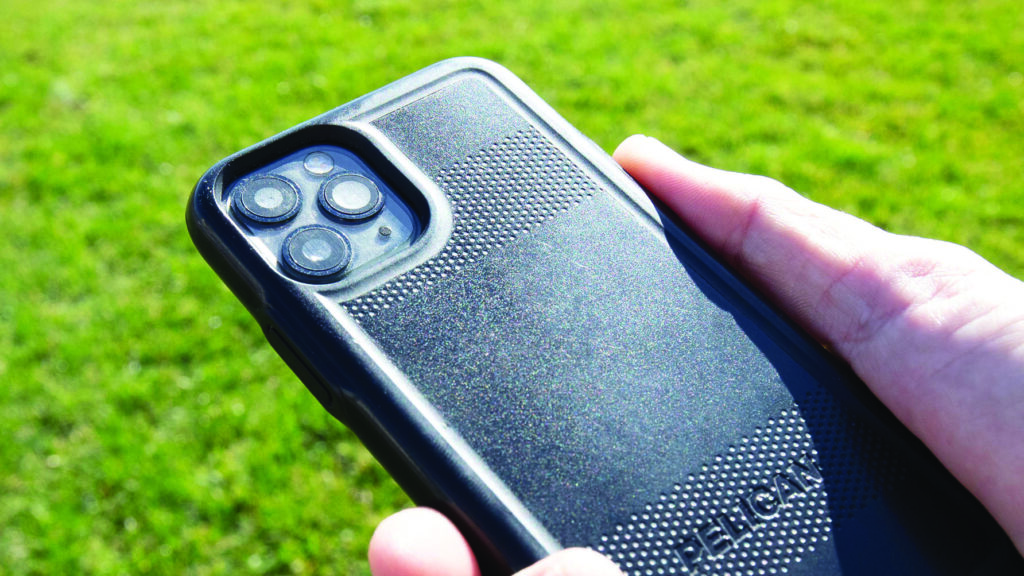
One last note before we do anything else. Please clean off your camera lenses. Dirty or smudged lenses will create hazy and blurry images. Don’t worry about scratching or damaging these lenses—they are really tough. I clean my lenses with my shirt and have never had a problem.
Tip 2: Level the Camera
The best way to instantly improve your photography is to level your camera. This trick will make your projects stand straighter and look more precise.
Find a vertical line near the middle of your subject, such as a piece of corner trim or the edge of a sliding glass door. Rotate your phone clockwise or counterclockwise until that line runs through the middle of your image.
Look at the left and right edges of your image. If the top of the image on either edge looks like it’s tilting inward, tilt your phone forward. If the bottom of your image is tilting inward, tilt your phone backward.
It can be difficult to perfectly level your camera, but it will give you a good foundation to work with. The less you tilt the camera the more accurate your photographs will be.
Tip 3: Choose a Good Height
How high the camera is above the floor or ground can have a dramatic effect on the final image. I believe it’s the most overlooked composition tool.
When photographing interiors, start with the camera at chest height. For single-level exterior projects, start at chest height then experiment with heights at eye level.
It might be difficult to fit a tall building into the photo with a relatively low camera height. Most people compensate by going to the “0.5X” zoom button and pointing their phone up to the sky. The problem with this is that it distorts the building’s architecture, creating a warped perspective for viewers. To fit big projects into the frame, see Tip 3.
Tip 4: Step Back
Rather than using the zoom feature on your camera, I encourage you to try stepping back to fit your subject into the frame. This is known as zooming with your feet.


When the subject is too close we are tempted to point the camera upward, forcing an awkward perspective. By stepping 10, 20, or 30 feet back, we can communicate the project’s architecture more accurately.
Stepping back to create more distance between you and a large building will also make the building feel more impressive.
Tip 5: Use the Sun to Your Advantage
I don’t want to overcomplicate this point: avoid letting the sunshine directly into your camera. Doing so leads to a situation referred to as backlighting, which yields dark images that lack important details.


The sun can shine overhead or it can shine behind you, but if it’s shining into your eyes the camera will struggle to create a nice image. The only sure way to avoid this problem is to photograph your subject from a different angle or to come back at a different time of day.
Yes, I know it can be difficult to avoid bad lighting conditions. If it seems like your project is too dark, you can tap on a dark area of your screen to force your phone to adjust. This will change the settings so the details of your project are less obscured. To anticipate lighting issues before they arise, our team uses a mobile app called SunSeeker that shows where the sun will be at different times of the day.
By using the above tips as a foundation you can start creating more precise, more professional-looking photographs of your projects in the field. Communicating your work today is easier than it’s ever been—you just have to master the technology already at your fingertips.
Chad Davies is the owner of Davies Imaging Group, where his photography team brings buildings to life for leading builders and construction companies. Chad has created an online phone photography course that dives deeper into the topics above. It’s available at www.builderphoto.com.


