An interview with Trevor Ragno of construction technology company Apis Cor
I recently visited the first showroom for 3D-printed houses. It’s located at an outdoor mall in Melbourne, Florida, and is owned by Apis Cor, a construction technology company that’s using robotic printers to build code-compliant masonry homes that it says are stronger than CMU construction.
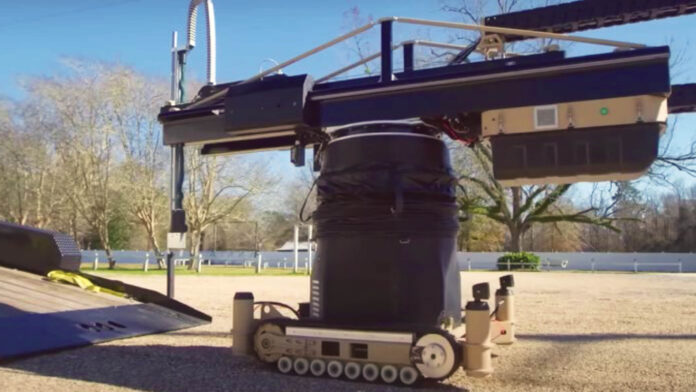
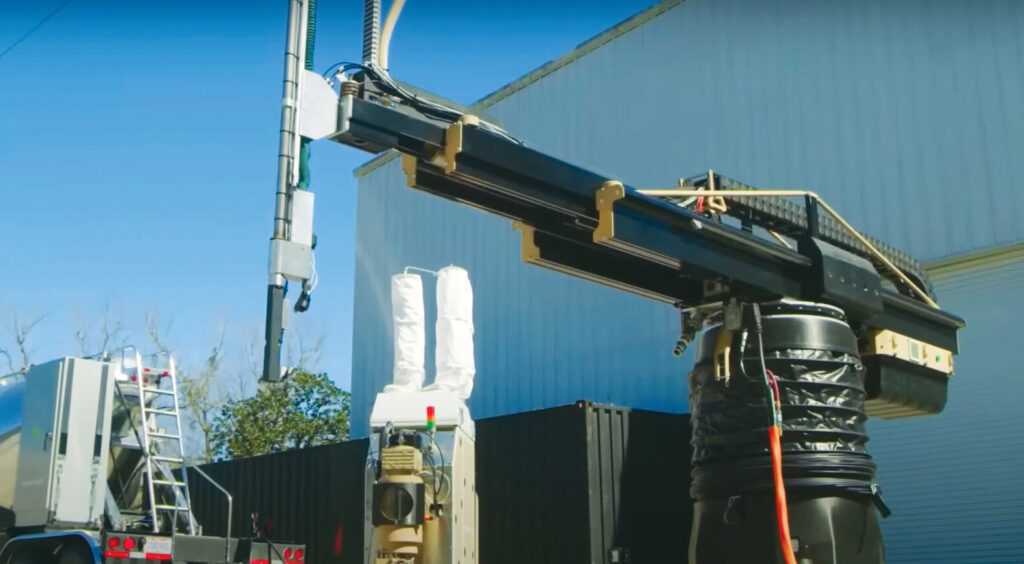
Apis Cor’s robotic printer is named Frank. It’s a small, mobile device that’s able to print buildings up to three stories tall.
During my visit, I met with Trevor Ragno, the company’s Director of Construction. Here’s a summary of what we talked about:
BC: Tell us a bit about Frank. How is it different from other 3D printers?
TR: For one thing, the technology was purpose-built for the challenges of the construction site, rather than being adapted from another, pre-existing technology. For instance, we don’t have a gantry system; instead, we have a standalone, mobile printer that can be quickly deployed to print large or small buildings.
BC: I noticed that Frank’s body moves up and down like an accordion and that it has an arm that extends out. Can you talk about these features?
TR: The vertical movement lets us raise the extruder as high as 10 1/2 ft. above floor level. To print higher buildings, we simply move Frank to a subsequent floor [remember that it’s portable] or drive it up onto a pedestal.
In addition, the [extendable] arm gives us a 16 1/2 ft. print radius.
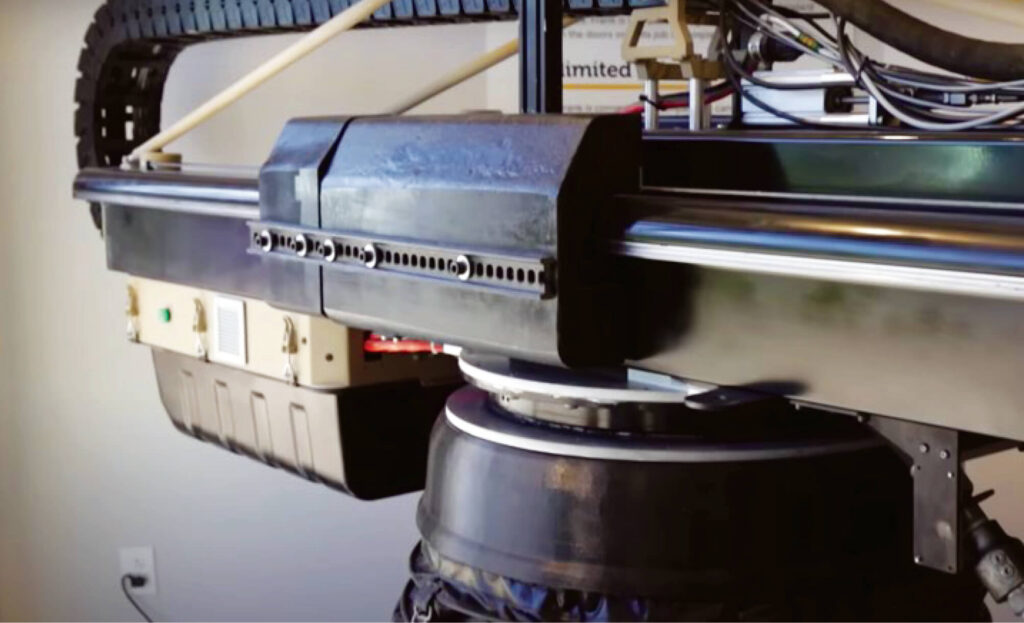
BC: Another important feature of this printer is its sensors.
TR: Absolutely. Some of Frank’s sensors are analogous to a check-engine light. We want to know which things might degrade over time so we can schedule preventative maintenance.
Other sensors are for obstacle avoidance. If there’s a collision event, then we want to make sure that the operator and the machine are kept safe.
When enough force is applied [to the nozzle or extruder arm] it deflects away from the obstacle and pauses printing. A splash screen on the operator’s tablet then appears with a message: “An obstacle has been detected. Would you like to proceed?”
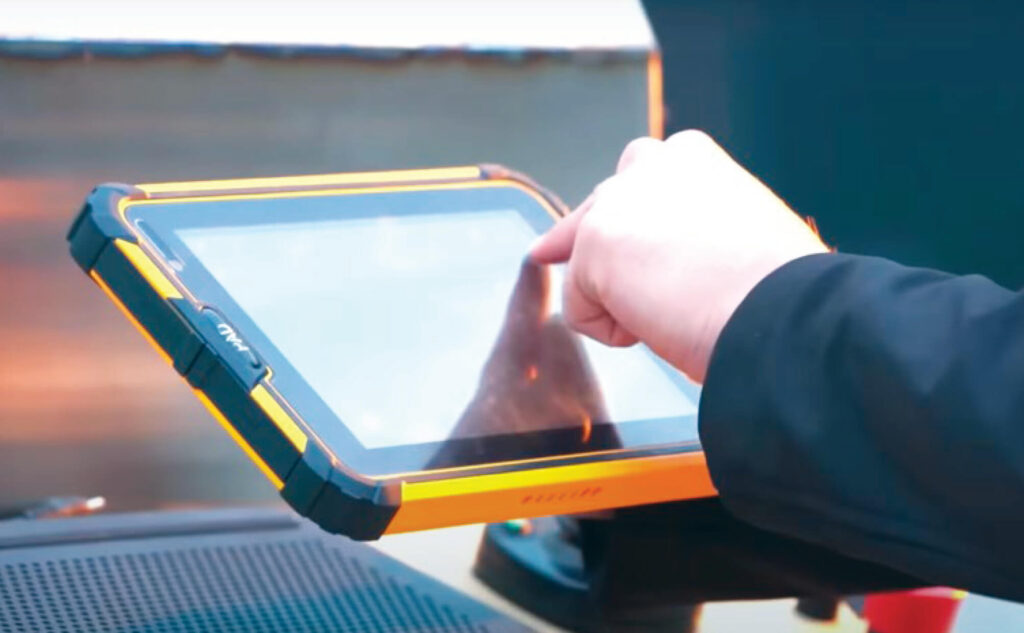
BC: This safety feature reminds me of the Saw Stop table saw, which immediately stops and retracts the blade the moment it encounters flesh.
TR: To your point, a construction site is typically a dangerous and dirty environment. Making it safer could help attract new people to the industry. Safety is no accident; it takes planning and foresight.
BC: Frank’s extruder is very different than the other extruders I’ve seen. It has a square, rather than a round nozzle and there’s also a flap system. How did you develop these?
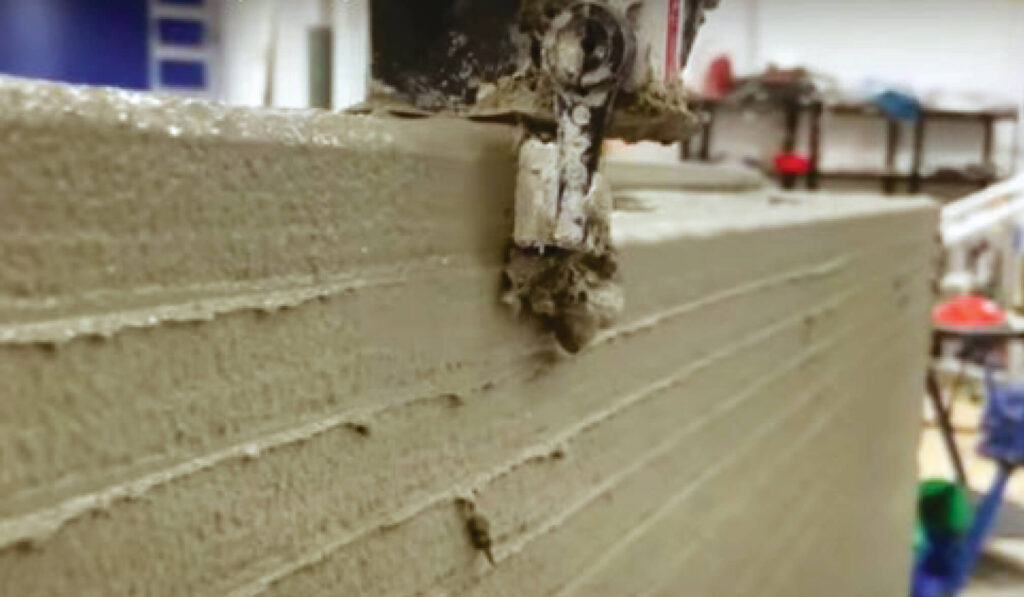
TR: Great question. Although some people may like the sausage look you get with a round nozzle, most of us prefer walls with a smooth finish. The square nozzle provides that finish, while also creating a bigger contact surface between layers. Overall, it provides a better-quality print.
The flap is a smoothing spatula. During the envelope printing, it helps smooth the wall surface. On interior corners, it also lifts up, then cuts back in to ensure a crisp line.
BC: You say you want your results to be as close as possible to concrete block. Can you explain?
TR: We want to make it simple to take a set of drawings for a concrete block home and modify them for 3D printing. As an example, with a concrete block home you must insert lateral reinforcing wire every 16 inches. We do the same with our 3D-printed homes.
As a printer operator, most of my time is spent in a lawn chair watching Frank do what he does, only to stand up to integrate some lateral wire now and then.
BC: It looks like electrical wire and boxes, as well as supply plumbing and drains, are all installed after the walls have been printed and cured. Do you come back and cut through the concrete? As an alternative, have you considered installing sleeves, or conduit, during the printing process?
TR: Some people use conduit, but we have noticed that it can cause some deformation in the print. We’re big on standardization and we don’t want any deformation. Also, our attitude is that if you don’t do it with a CMU block home, then don’t do it with a 3D-printed home.
As for penetrations, we ideally try to penetrate the building envelope four to 12 hours after the material has been printed. The surface is hard to the touch at that point, but still easily machinable.
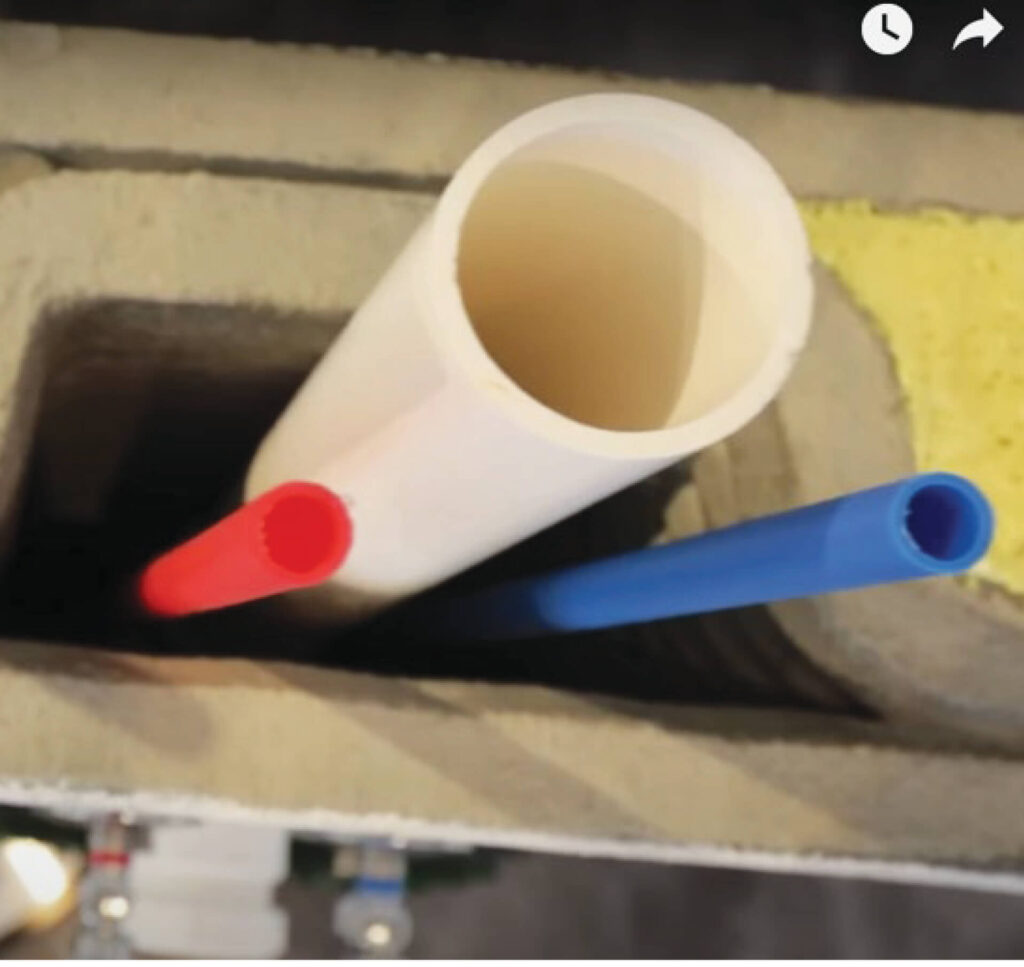
I’m not a licensed electrician so I’m not allowed to run wire, but in many places, I’m allowed to install the outlet boxes and the conduit so the electrician can come back later and snake the wire.
BC: Most people want a smooth wall surface or a cladding. That’s all possible with 3D printing technology?
TR: Yes, absolutely. You can, of course, install stone or brick veneer cladding. If you want a perfectly uniform wall finish, then you can use smooth stucco or plaster. The good news is that you don’t need metal lath, because the printed surface has very fine lines that the stucco or plaster can adhere to. And with no lath to fill, you also need less material.
BC: Thank you so much for your time. To my readers, if you’re around Melbourne Fla., be sure to stop by the Apis Cor showroom and see their 3D printer firsthand.
If you want to learn more you can also go to Apis Cor University online, a knowledge base dedicated to the advancement of automated construction technology, specifically 3D printing. You can find it at https://apis-cor.thinkific.com/.


